ERPNext Deployment
ERPNext is an open-source, all-in-one enterprise resource planning (ERP) software that helps businesses manage operations like accounting, inventory, HR, and more in an easy-to-use platform.
Table of contents
What is ERPNext?
ERPNext is a comprehensive, open-source ERP solution designed to streamline and automate a wide range of business processes. Built with simplicity and flexibility in mind, it caters to organizations of all sizes across various industries. Key features include:
- Accounting: Manage finances, invoices, payments, and reports.
- Inventory Management: Track stock levels, manage warehouses, and optimize supply chains.
- Human Resources: Handle employee records, payroll, and recruitment seamlessly.
- CRM: Enhance customer relationships with tools for tracking leads, opportunities, and interactions.
- Project Management: Plan, execute, and monitor projects with timelines and task assignments.
- Manufacturing: Simplify production planning, BOMs, and work orders.
- Customizability: Offers modular design and user-friendly customization for diverse needs.
ERPNext provides a modern, cloud-based interface and is backed by an active community, making it a cost-effective choice for businesses seeking a scalable and open-source ERP system.
Website Documentation GitHub Demo

In this tutorial, we are going to install ERPNext with the Docker Compose.
Steps to follow
- Install Docker, and Docker-Compose
- Deploy ERPNext
Install Docker, and Docker-Compose
Install Docker Engine
Note
Find the official guide here. Follow this official guide for install Docker on other Linux distribution systems.
1. Uninstall old versions
sudo apt-get remove docker docker-engine docker.io containerd runc
2. Set up the repository
Update the apt package index and install packages to allow apt to use a repository over HTTPS:
sudo apt-get update
sudo apt-get install ca-certificates curl gnupg lsb-release
Add Docker’s official GPG key:
sudo mkdir -m 0755 -p /etc/apt/keyrings
curl -fsSL https://download.docker.com/linux/ubuntu/gpg | sudo gpg --dearmor -o /etc/apt/keyrings/docker.gpg
Use the following command to set up the repository:
echo \
  "deb [arch=$(dpkg --print-architecture) signed-by=/etc/apt/keyrings/docker.gpg] https://download.docker.com/linux/ubuntu \
  $(lsb_release -cs) stable" | sudo tee /etc/apt/sources.list.d/docker.list > /dev/null
3. Install Docker Engine
sudo apt-get update
sudo apt-get install docker-ce docker-ce-cli containerd.io
Verify that the Docker Engine is installed correctly.
sudo systemctl is-active docker
Install Docker-Compose
In this case (29/12/2024), it is v2.31.0; Refer to the GitHub Releases to identify the latest version.
Download and install Compose standalone latest version
curl -SL https://github.com/docker/compose/releases/download/v2.31.0/docker-compose-linux-x86_64 -o /usr/local/bin/docker-compose
sudo chmod +x /usr/local/bin/docker-compose
Verify that the Docker-Compose is installed correctly.
sudo docker-compose --version
Add your linux user to the Docker group (*optional)
sudo usermod -aG docker $USER
Deploy ERPNext
Method 01: Create a new docker compose file (docker-compose.yml).
Note
Check the latest ERPNext Docker tag here. Replace
'v15.44.0'in the Docker Compose file with the latest tag version to ensure you are using the most recent ERPNext release.
nano docker-compose.yml
version: "3"

services:
  backend:
    image: frappe/erpnext:v15.44.0
    restart: unless-stopped
    volumes:
      - sites:/home/frappe/frappe-bench/sites
      - logs:/home/frappe/frappe-bench/logs

  configurator:
    image: frappe/erpnext:v15.44.0
    entrypoint:
      - bash
      - -c
    # add redis_socketio for backward compatibility
    command:
      - >
        ls -1 apps > sites/apps.txt;
        bench set-config -g db_host $$DB_HOST;
        bench set-config -gp db_port $$DB_PORT;
        bench set-config -g redis_cache "redis://$$REDIS_CACHE";
        bench set-config -g redis_queue "redis://$$REDIS_QUEUE";
        bench set-config -g redis_socketio "redis://$$REDIS_QUEUE";
        bench set-config -gp socketio_port $$SOCKETIO_PORT;
    environment:
      DB_HOST: db
      DB_PORT: "3306"
      REDIS_CACHE: redis-cache:6379
      REDIS_QUEUE: redis-queue:6379
      SOCKETIO_PORT: "9000"
    volumes:
      - sites:/home/frappe/frappe-bench/sites
      - logs:/home/frappe/frappe-bench/logs

  create-site:
    image: frappe/erpnext:v15.44.0
    volumes:
      - sites:/home/frappe/frappe-bench/sites
      - logs:/home/frappe/frappe-bench/logs
    entrypoint:
      - bash
      - -c
    command:
      - >
        wait-for-it -t 120 db:3306;
        wait-for-it -t 120 redis-cache:6379;
        wait-for-it -t 120 redis-queue:6379;
        export start=`date +%s`;
        until [[ -n `grep -hs ^ sites/common_site_config.json | jq -r ".db_host // empty"` ]] && \
          [[ -n `grep -hs ^ sites/common_site_config.json | jq -r ".redis_cache // empty"` ]] && \
          [[ -n `grep -hs ^ sites/common_site_config.json | jq -r ".redis_queue // empty"` ]];
        do
          echo "Waiting for sites/common_site_config.json to be created";
          sleep 5;
          if (( `date +%s`-start > 120 )); then
            echo "could not find sites/common_site_config.json with required keys";
            exit 1
          fi
        done;
        echo "sites/common_site_config.json found";
        bench new-site --no-mariadb-socket --admin-password=admin --db-root-password=admin --install-app erpnext --set-default frontend;

  db:
    image: mariadb:10.6
    healthcheck:
      test: mysqladmin ping -h localhost --password=admin
      interval: 1s
      retries: 15
    restart: unless-stopped
    command:
      - --character-set-server=utf8mb4
      - --collation-server=utf8mb4_unicode_ci
      - --skip-character-set-client-handshake
      - --skip-innodb-read-only-compressed # Temporary fix for MariaDB 10.6
    environment:
      MYSQL_ROOT_PASSWORD: admin
    volumes:
      - db-data:/var/lib/mysql

  frontend:
    image: frappe/erpnext:v15.44.0
    depends_on:
      - websocket
    restart: unless-stopped
    command:
      - nginx-entrypoint.sh
    environment:
      BACKEND: backend:8000
      FRAPPE_SITE_NAME_HEADER: frontend
      SOCKETIO: websocket:9000
      UPSTREAM_REAL_IP_ADDRESS: 127.0.0.1
      UPSTREAM_REAL_IP_HEADER: X-Forwarded-For
      UPSTREAM_REAL_IP_RECURSIVE: "off"
      PROXY_READ_TIMEOUT: 120
      CLIENT_MAX_BODY_SIZE: 50m
    volumes:
      - sites:/home/frappe/frappe-bench/sites
      - logs:/home/frappe/frappe-bench/logs
    ports:
      - "8080:8080"

  queue-long:
    image: frappe/erpnext:v15.44.0
    restart: unless-stopped
    command:
      - bench
      - worker
      - --queue
      - long,default,short
    volumes:
      - sites:/home/frappe/frappe-bench/sites
      - logs:/home/frappe/frappe-bench/logs

  queue-short:
    image: frappe/erpnext:v15.44.0
    restart: unless-stopped
    command:
      - bench
      - worker
      - --queue
      - short,default
    volumes:
      - sites:/home/frappe/frappe-bench/sites
      - logs:/home/frappe/frappe-bench/logs

  redis-queue:
    image: redis:6.2-alpine
    restart: unless-stopped
    volumes:
      - redis-queue-data:/data

  redis-cache:
    image: redis:6.2-alpine
    restart: unless-stopped
    volumes:
      - redis-cache-data:/data

  scheduler:
    image: frappe/erpnext:v15.44.0
    restart: unless-stopped
    command:
      - bench
      - schedule
    volumes:
      - sites:/home/frappe/frappe-bench/sites
      - logs:/home/frappe/frappe-bench/logs

  websocket:
    image: frappe/erpnext:v15.44.0
    restart: unless-stopped
    command:
      - node
      - /home/frappe/frappe-bench/apps/frappe/socketio.js
    volumes:
      - sites:/home/frappe/frappe-bench/sites
      - logs:/home/frappe/frappe-bench/logs

volumes:
  db-data:
  redis-queue-data:
  redis-cache-data:
  sites:
  logs:
Start the ERPNext
docker-compose up -d
# check the container status
docker-compose ps
Method 02: Clone Docker Compose file from GitHub
git clone https://github.com/frappe/frappe_docker
cd frappe_docker
Start the ERPNext
docker compose -f pwd.yml up -d
# check the container status
docker-compose ps
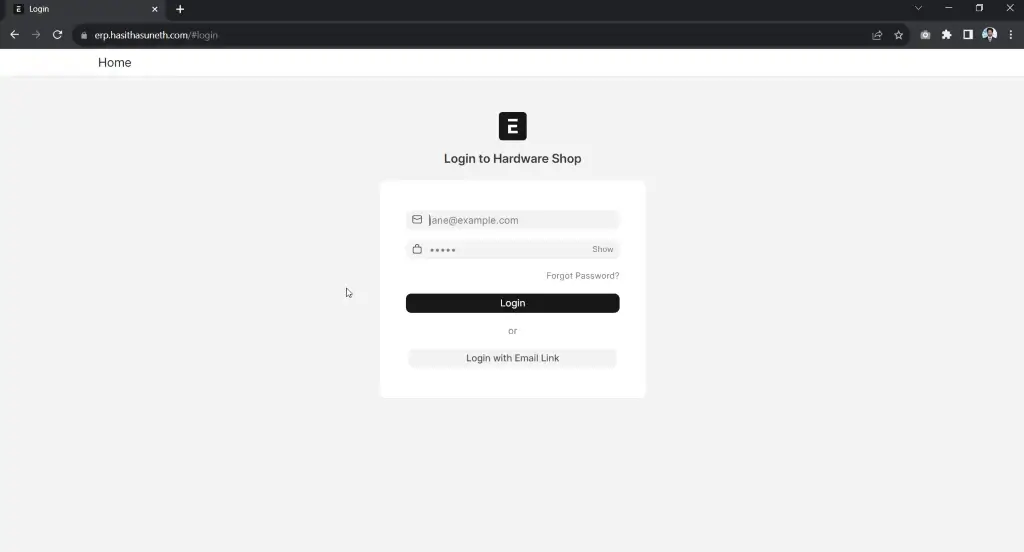
Login to the web UI of ERPNext
Default Admin User:
Username: Administrator
Password: admin
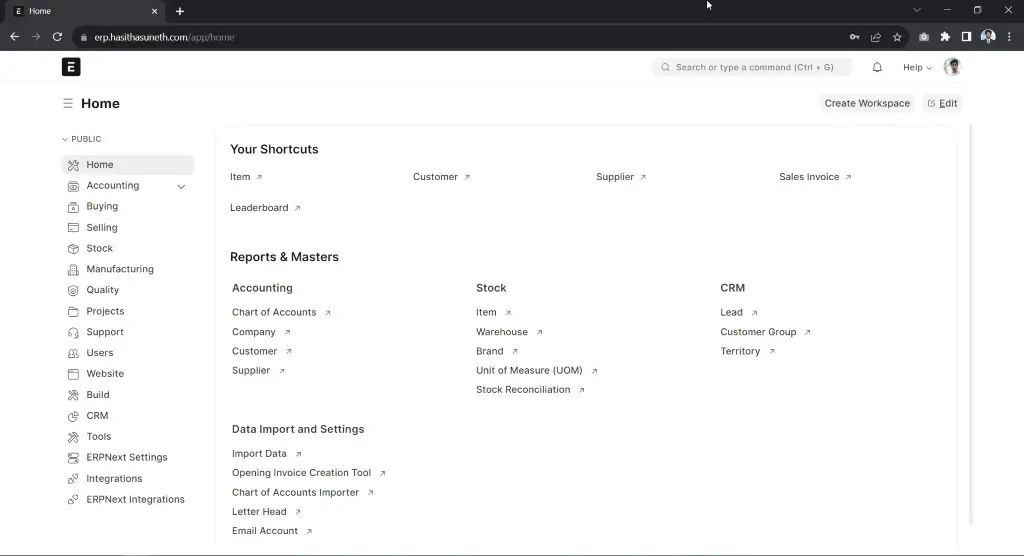
Now you can log in to the web UI. Simply use your browser to connect to your server by using the IP address or an FQDN and connect on port 8080.
Next, you should change your username and password, and that’s it!
NGINX Configuration (If you are behind a reverse proxy)
Replace
ip_addresswith the IP address of your ERPNext instance, or use127.0.0.1if the Nginx server is running on the same instance.# /etc/nginx/sites-available/your_domain.com server { listen 80; server_name your_domain.com; location / { proxy_pass http://ip_address:8080; proxy_set_header Host $host; proxy_set_header X-Real-IP $remote_addr; proxy_set_header X-Forwarded-For $proxy_add_x_forwarded_for; proxy_set_header X-Forwarded-Proto $scheme; } }
Screenshots


